# Routing
# Advanced Routing
From FWCloud-UI you can carry out the routing administration.
In traditional routing, the route that packets follow is obtained solely on the basis of their destination.
It is possible to create more specific routes based on other factors such as source address, firewall marks, traffic type, protocols, access list, packet size, or other criteria. For that, we need to create routing tables and a routing policy, this is what is known as advanced routing or policy routing.
From FWCloud-UI we can create and manage these routes and rules with all the power provided by its graphical environment and visual features. We access to these features from the Routing section of the firewalls created in FWCloud-UI.

Routing tables and policy are described in the next sections of this document.
# Routing Tables
We will classify the routes in tables.
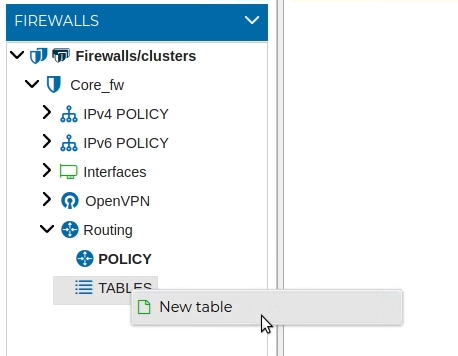
To create a new table we go to Routing, TABLES and select New table
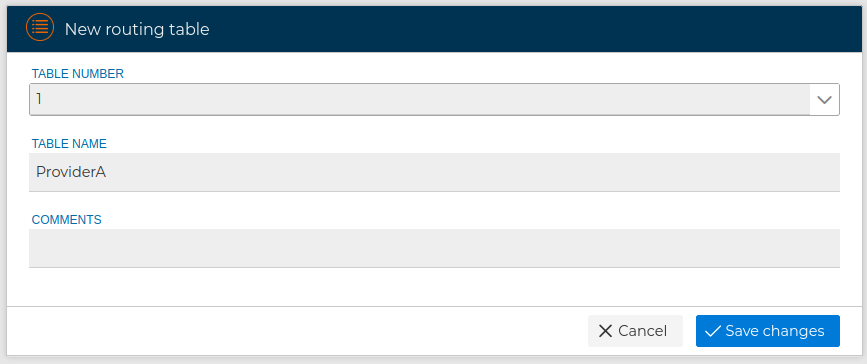
In the form presented we can select the table "main", predefined by the system, or create a new custom table. All tables require a unique identifier. For our customized tables we can select a number between 1 and 250. Also they require a name that identifies the table. Optionally we can add a comment in the table definition.
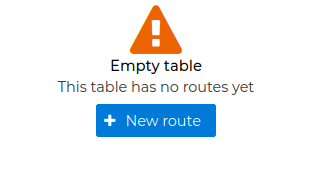
If we select a table we can add routes into it. If the table has no route we can press the New Route button by the "Empty table warning"
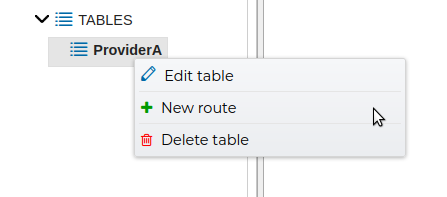
, or alternatively right clicking on the table name and then clicking on New route in the context menu
We are presented with a form where we need to fill the gateway. All the routes need a gateway, which is the next-hop device to send the packages to. This field only allows IP address objects and can not be left empty. Since the routes only can have one gateway, this field only allow an object, that cannot be deleted because it will leave the rule inconsistent but it can be replaced by other IP address object by drag and drop.
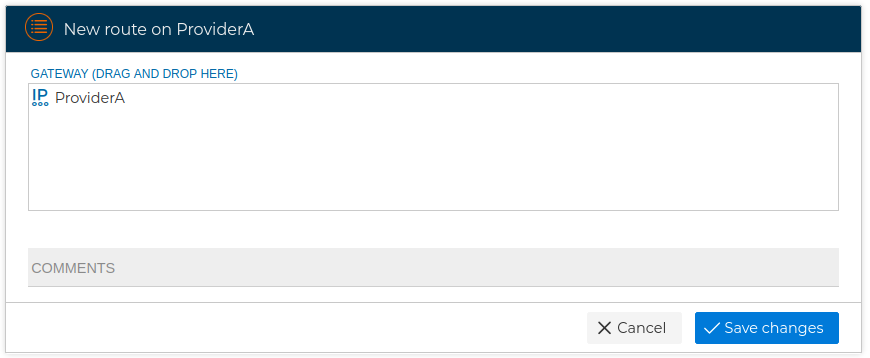
This will create route with the value "(Any)" in the To field. It represents a default route that uses the specified gateway.

In case we are working with a cluster, this rule will have one more field, Apply to. This allows us to select if the table is going to be installed on all the nodes of the cluster, or if we prefer it be installed only on a specific node.

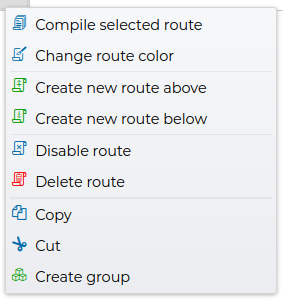
We can see the rule that will be installed in the router by right clicking on the number of route and clicking Compile selected route


In order to adjust the routes to our needs we can make them more specific by modifying the To field.
This field admits more than one object. Here we can use any IP addresses, IP ranges, networks, hosts, groups, VPN connections and even VPN prefixes.

We can add as many routes as we needed in the routing tables. We can also use any of the visual features of FWCloud-UI to define our routing table, and make it more clear and readable, like copy and paste, moving routes, changing their color, disabling and enabling them and creating groups to contain some of the routes.

# Routing Policy
To specify different paths used to route network traffic depending on the type of traffic or its source address, we need to classify this traffic using routing rules and then tell the system to find the most appropriate route in one routing table or another.
If the policy routing is empty we can create the first rule by pressing the button Create new rule 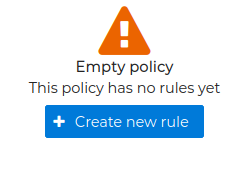
Because the rules make use of the routing tables we cannot create a new rule since we have defined at least one routing table (visit Routing Tables in the previous section), otherwise FWCloud-UI will show us the following warning

When creating a new rule we need to select from the drop down list a routing table and specify a FWCloud-UI object to restrict the traffic that will use the selected table to lookup up for the proper route.
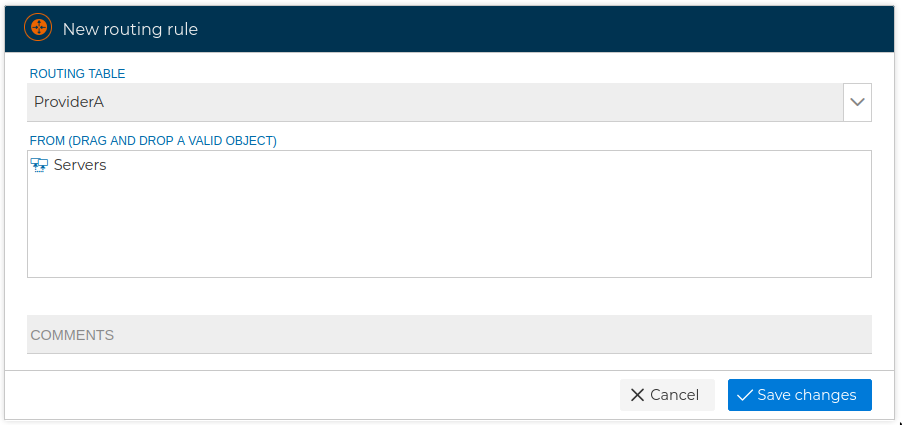
The created rule will appear in the routing policy table.

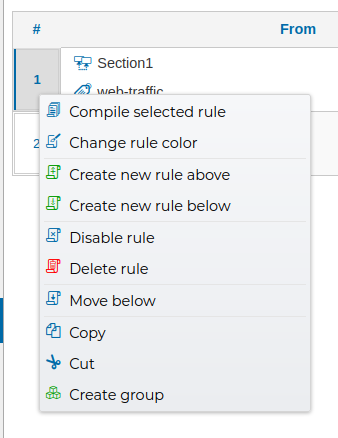
We can right click on the number of the rules and select Compile selected rule and FWCloud-UI will show us the rule or rules that will be installed.

At least we need to have one object in the From field of the rules to act as criteria for selecting traffic. If the rule has only one object in this field then it cannot not be removed. Valid objects for this field are networks, IP addresses, IP ranges, hosts, firewall marks, VPN connections and VPN prefixes

If the routing policy is created for a cluster of firewalls, there is also an extra field, Apply to, in the policy table.
We can select which rules of the table will be installed on all nodes of the cluster, what is the default behaviour, or select which particular node they apply to.

We can create a full policy routing using the visual features that FWCloud-UI provides to us.
Here you have video that shows the "Apply To" feature:
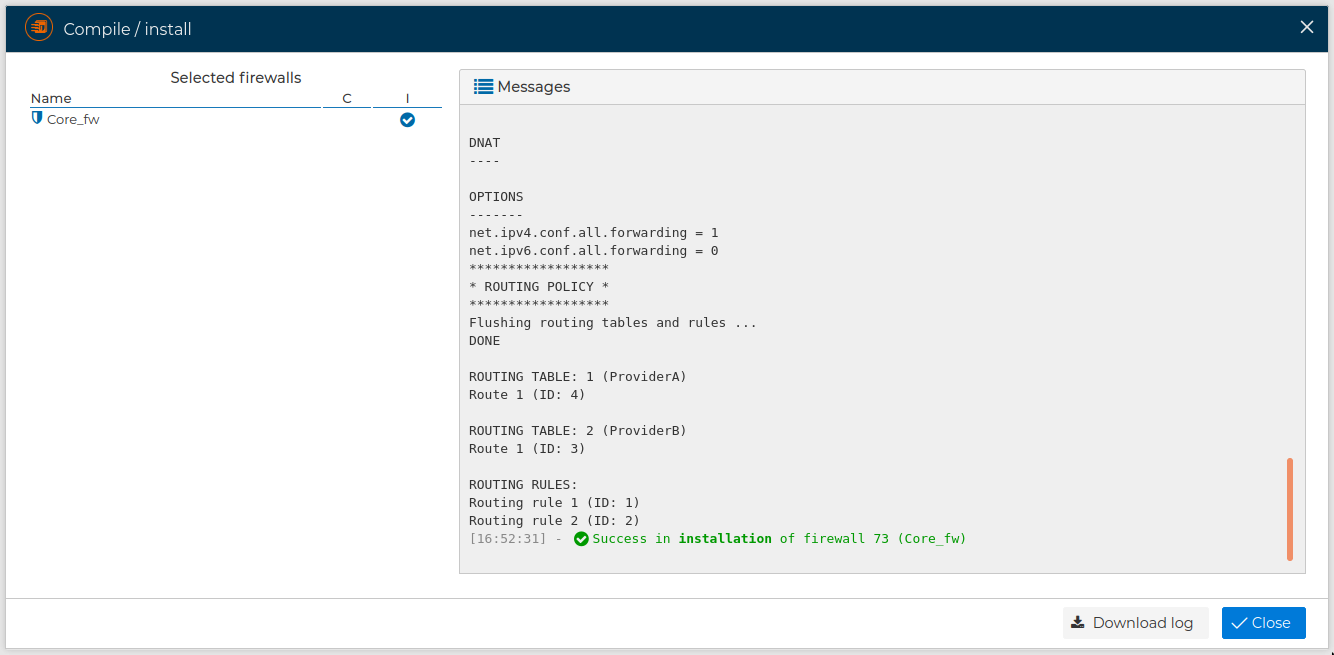
## Compiling and installingWe can compile individual routing rules or routes by selecting them and then right client on the option Compile selected route or Compile selected rule respectively, this will pop up an information window showing the code that will be used to apply the routes and rules in the firewall, but they do not take effect yet.
To install to policy routing and the routing tables we need first to compile and then install the firewall. This is done the same way we did it to compile and install the security policy (review Compile and Install sections of this guide), if the Firewall has a Routing policy or Routing tables defined then they will be installed.

