
# PKI
Public Key Infrastructure (PKI) is a fundamental component in the secure deployment and management of Virtual Private Networks (VPNs). PKI provides the mechanisms required to authenticate entities, establish trust, and protect communications through the use of digital certificates and cryptographic keys.
In a VPN environment, PKI is primarily used to enable secure authentication between clients and servers. Instead of relying on shared secrets such as usernames and passwords, PKI leverages asymmetric cryptography, where each entity possesses a pair of cryptographic keys: a public key and a private key. The public key is distributed through a digital certificate, while the private key remains securely stored on the entity’s system.
FWCloud has full integration between VPN and secure Policy. From FWCloud-UI you can create and manage your Public Key Infrastructure (PKI).
Within VPN configurations, PKI offers several advantages, including stronger authentication, improved scalability, and centralized certificate management. It allows administrators to issue, revoke, and renew certificates without modifying VPN credentials on each endpoint. Additionally, certificate-based authentication reduces the risk associated with compromised credentials, as private keys are never transmitted over the network.
PKI plays a critical role in ensuring the confidentiality, integrity, and authenticity of VPN connections. Its use is considered a best practice in enterprise-grade VPN deployments, particularly in environments that require high levels of security and administrative control.
# CA
Digital certificates are issued and managed by a Certificate Authority (CA), which acts as a trusted third party. The CA validates the identity of the requesting entity and signs the certificate, thereby binding the public key to that identity. VPN clients and servers that trust the same CA can verify each other’s certificates and establish a secure communication channel.
# New CA
In order to be able to issue and revoke certificates you need to have Certificate Authority (CA). It is the trusted entity that gives legitimacy to the relationship of a public key with the identity of a user or a service.
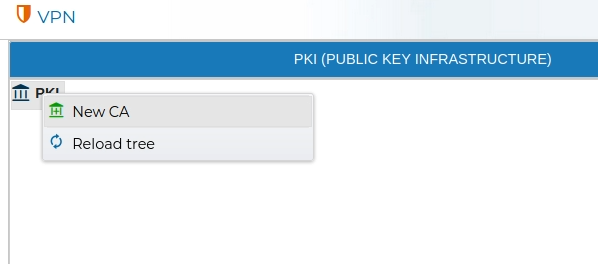
To create a Certificate Authority (CA), navigate to the PKI area within the VPN section of the application. Right-click on the PKI icon and select New CA from the context menu.
You need to provide a name and the valid period for the new CA.
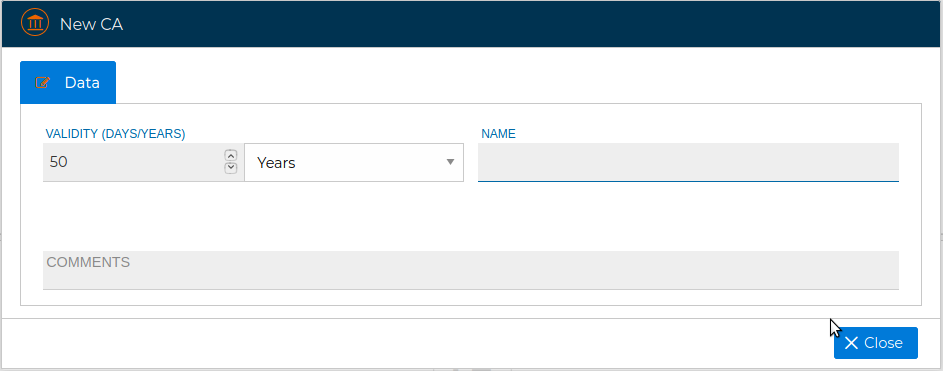
The process of generating a new CA can last a little bit. It is carried out in the background, you can continue working with FCloud-UI.

# View
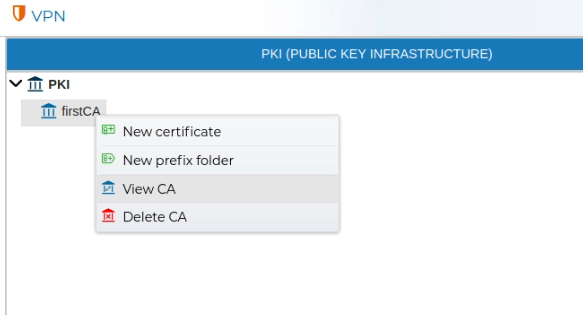
The settings of a CA can be reviewed by double clicking over the CA name or right click and select View CA.
The information displayed cannot be modified.
# Delete
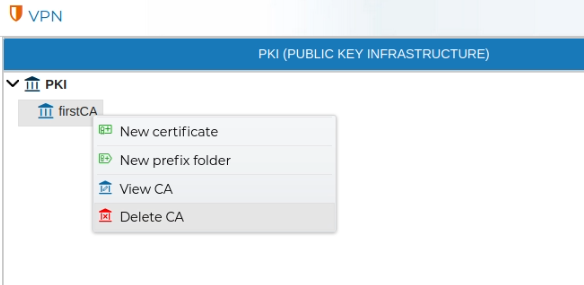
In order to remove a CA, right click over the CA name and select Delete CA.
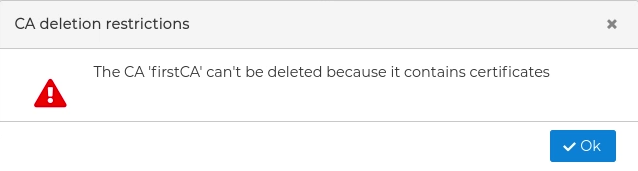
If you try to delete a CA that has issued certificates than has not been removed yet you will receive a warning and the deletion will not be carried out.
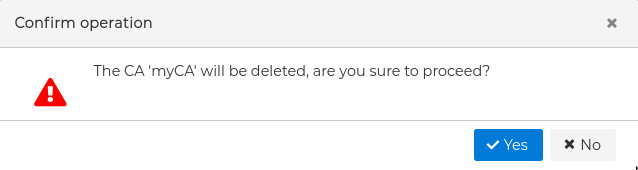
In case the deletion is possible first you will be asked for confirmation.
# Certificates
Digital certificates are a core element of a Public Key Infrastructure (PKI) and play a critical role in securing VPN communications. A digital certificate is an electronic document that binds a cryptographic public key to the identity of an entity, such as a VPN server, a client device, or a user.
Each certificate contains identifying information about the entity, the associated public key, the issuing Certificate Authority (CA), and a validity period. Certificates are digitally signed by the CA, allowing other systems to verify their authenticity and integrity.
In VPN deployments, certificates are used to authenticate both endpoints during the connection establishment process. When a VPN client connects to a VPN server, each party presents its certificate. If both certificates are issued by a trusted CA and are valid, a secure and trusted connection can be established.
Certificate management is an essential administrative task. This includes issuing new certificates, renewing certificates before they expire, and revoking certificates that are no longer trusted or required. Revocation is particularly important when a private key is compromised or when a device or user should no longer be allowed to access the VPN.
When configuring VPN connections you will need a certificate for the VPN server and a certificate for any of the clients that will connect to that server.
# New Server Certificate
Server certificates are used to authenticate VPN servers to connecting clients. In a VPN connection, the server presents its certificate during the initial handshake to prove its identity. This allows VPN clients to verify that they are connecting to a legitimate and trusted server.
A server certificate contains information identifying the VPN server, along with its public key. Clients validate the certificate by checking the CA signature, the certificate validity period, and any applicable revocation status. A valid server certificate ensures the authenticity of the VPN endpoint and protects clients from man-in-the-middle attacks.
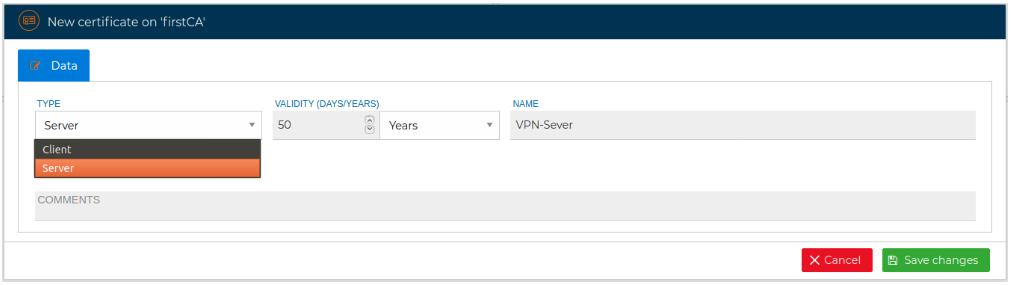
Server certificates are issued from the CA, so right click on any of your CAs an select New Certificate

For a server certificate select Server as the type of the certificate in the drop down selection box.
# New Client Certificate
Client certificates are used to authenticate individual VPN clients to the VPN server. Each client certificate uniquely identifies a user, device, or system attempting to establish a VPN connection.
During the VPN authentication process, the client presents its certificate to the server. The server verifies that the certificate is issued by a trusted CA and that it has not expired or been revoked. Only clients with valid certificates are allowed to establish a VPN connection.
Client certificates provide strong, certificate-based authentication and enable fine-grained access control. They also simplify credential management by allowing administrators to revoke access for specific clients without affecting other VPN users or configurations.
The process for issuing a client certificate is almost the same as for a server certificate. From the CA select New certificate and select Client as the type of the certificate in the displayed form.
The form changes proposing a style for the name of the certificate that includes the name of the company, the country, the department, the name to whom the certificate is issued and a number in the event that more than one certificate is issued for the same person.
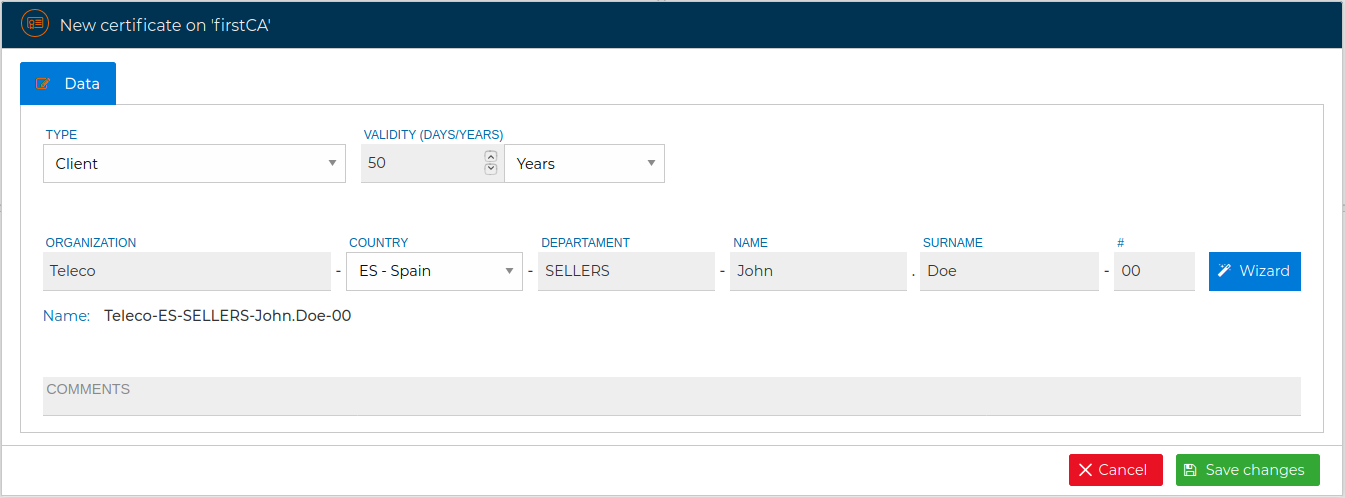
You can follow this nomenclature or hide this wizard by clicking on the "Wizard" button and directly write the name of the certificate.
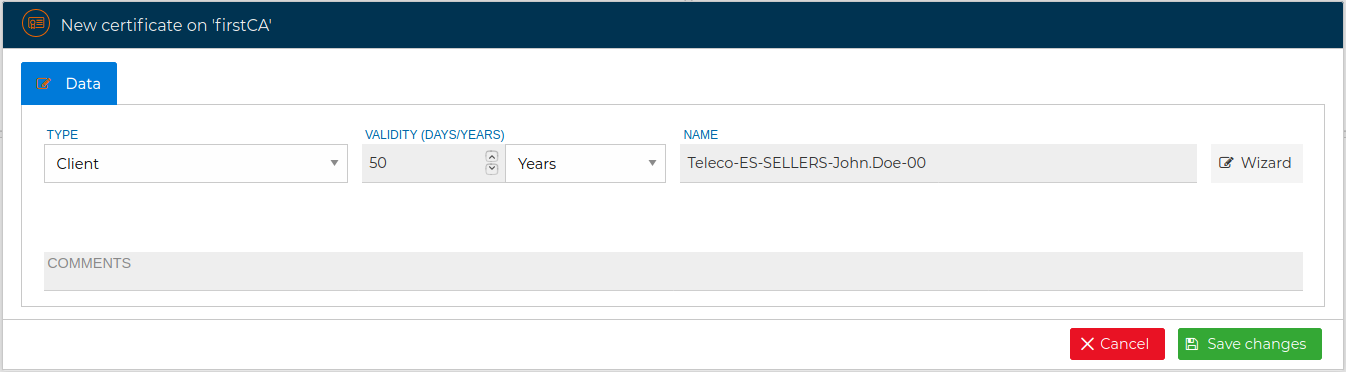
You must fill the name and the validity period and save the changes. If every goes fine you will see a message in the right top corner of FWCloud-UI.

As a good practice, if the certificate is issued for a person, we recommend to include his name in the name of the certicate. Also, consider to append a number at the end of name of the certificate. If the client needs another certificate in the future just increase that number.
# View
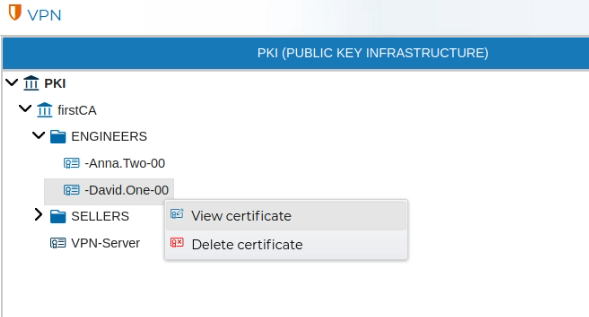
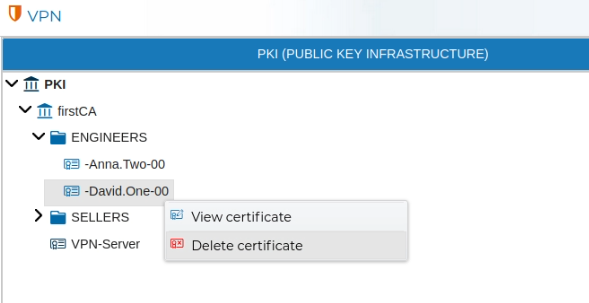
Server and client certificates can be reviewed by double clicking over the certificate name or right click and select View certificate.
The information displayed cannot be modified.
# Prefixes
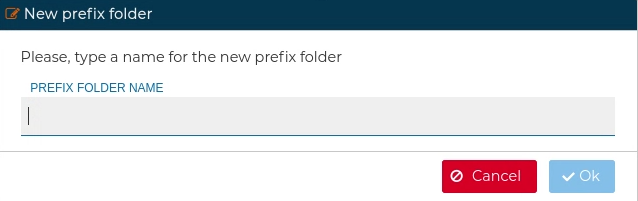
In order to keep the certificates ordered you can create a folders. This are called Prefix in FWCloud-UI terms. All certificates which their name start with that prefix name will be automatically included inside this folder. The prefixes group the certificates under one name. They can be created in the PKI section.

# Delete
When a certificate is no longer needed, it can be removed. Right click over the certificate name and select Delete certificate.
FWCloud-UI does not allow to delete certificates if they are in use. First remove any of the VPN settings that make use of them.
OpenVPN →